©️ Dakota Design Company 2017-2025 | All rights reserved. This content may not be reproduced, distributed, or used without permission.
How to price your interior design services is probably the NUMBER ONE question we get from interior designers. Now, I get that pricing can feel hard to do, but this particular question has a very (in my opinion) specific answer because of the circumstances. That circumstance being that this sweet designer is brand new. Here’s what they shared:
“I am struggling figuring out how much to charge using a flat fee. I am not sure how many hours to assume a service will take when creating a fee.”
I recorded my response to this designer in the video below, and I’m sharing a few tips for figuring out how to determine what to charge and how to charge as a new designer. I also reference my Pricing & Proposals Workshop, where I walk you through pricing and per-room fees across the United States based on my work with hundreds of interior designers since 2017.
One other thing to note here, in addition to my video response, is that if you’re basing your flat fee on how many hours it takes to complete something, you’re billing hourly, so may as well just implement hourly billing so you get paid for each hour you work.
So, if you’re brand new, don’t rush into flat fees. You simply don’t have the data yet to know how many hours projects take, and that’s where designers get into trouble. Instead, bill hourly, give clients an estimated block of hours to start, and track your time carefully. This will build the data you need to eventually create profitable flat fees.
Remember: hourly billing when you first start is not a weakness. It’s a smart business move that keeps you in it for the long haul!
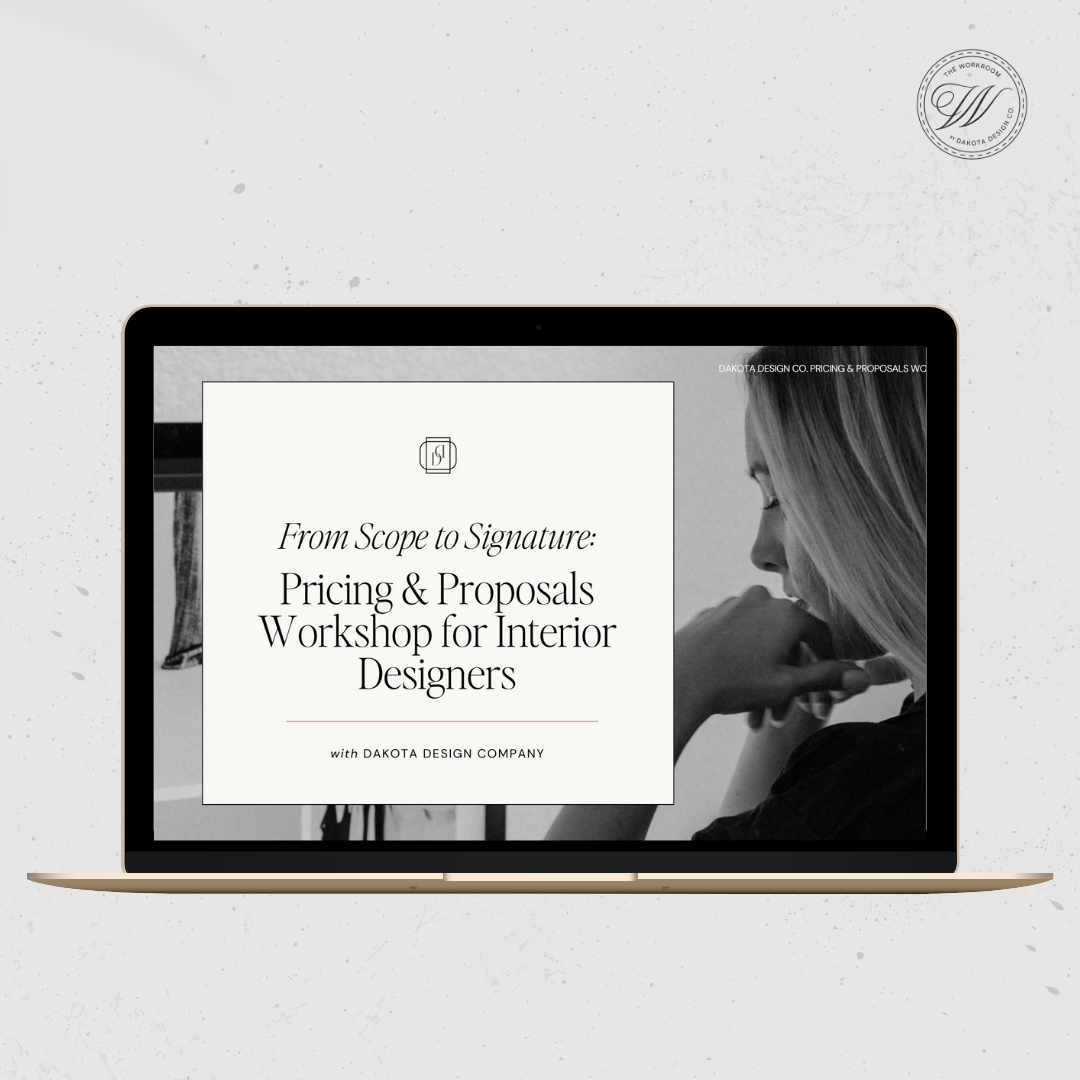
And if you need to figure out hourly rates, retainers to collect (and when), and more, check out our Pricing & Proposals Workshop for interior designers.
Confident Pricing. Clear Minimums. Higher Profit Margins.
Tired of wondering if you’re charging enough or too much? Ready to set minimums that protect your time and establish pricing that reflects your expertise (and allows you to stand firm when a client pushes back)? Spending days or weeks writing custom proposals that never convert?
Enter: The Pricing & Proposals Workshop.
In this on-demand workshop, you’ll learn exactly how to price your interior design services with confidence, set project minimums that make sense, and stop feeling anxious every time you share pricing with a client.

Looking for more? Keep reading:
There is no doubt that trimwork and moldings add a distinctive touch that gives homes detail and character. Decorative casings, crown moldings, wainscoting, and coffered ceilings wrap a space, imbuing rooms with a sense of enclosure, comfort, and human scale. At the same time, they bring a distinct level of importance and intentionality to spaces. Applied moldings also provide historic references, whether that be Classical symmetry, Craftsman simplicity, or Victorian elegance; millwork gives a space a sense of history, craftsmanship, and a lasting narrative.
In other posts in this KITCHEN CABINET series, we looked at cabinet fabrication and cabinet styling. Here, we will look at problem-solving one specific cabinetry solution.
Whether you are a novice kitchen planner, or have been doing kitchen design for years, one of the peskiest dilemmas for kitchen design is how to handle interior cabinet run corners. There are two problems with cabinet corners: storage capacity, and access. This post breaks down the options to maximize both.
In this previous blog, we explored the merits and considerations of custom cabinetry, semi-custom, and stock cabinets. But beyond choices relative to fabrication, there are many choices to be made regarding cabinet styling. If you specify kitchen and bath cabinetry, these details are likely old hat to you. But if you are new to specifying cabinetry, OR, if you want an explanatory guide to provide to your kitchen clients, continue on.
Let’s delve into the most fundamental styling considerations, including a comprehensive breakdown of cabinet construction types, drawer and door front styles, cost insights, and capacity factors.
When it comes to wood, there is simply a LOT that an interior designer needs to know! Of all materials used in interior spaces, wood dominates as the most widely used material. Unlike materials that might be used for a specific function (like stone for countertops or metal for fixtures), wood is used across nearly every interior component:
Framing: Most residential projects use wood as the primary framing material for walls, floors, ceilings, and staircases.
Architectural Features: Wood is the primary material used for doors, window and door casings, baseboards, and ceiling beams.
Cabinetry & Millwork: Wood, or wood by-products are used for kitchen, bath, and office cabinetry, built-in storage, shelving, and wall paneling.
Furniture: Solid wood or wood derivatives are used to construct tables, chairs, and occasional pieces
In separate posts, we have explored both common and exotic wood species used primarily for flooring and cabinetry. But there are other wood applications that designers must be familiar with. In this blog, we will define specialty applications of wood and wood by-products.
Projects and project budgets that align with these specialized and costly wood species are extremely rare. When a generous budget allows, and for clients seeking an interior that tells a richer story, exotic woods offer an immediate injection of drama, deep texture, and undeniable tactile luxury that standard domestic woods simply cannot replicate. Let’s explore a few of these specialized species.
This article provides an overview of the most commonly used wood species used for flooring and cabinetry, including oak, maple, cherry, poplar, and walnut. With all the wood options available on the market, it is important for interior designers to be well-informed and knowledgeable!
We have covered the design elements—I liken these to the ingredients in a recipe—Line, Shape and Form, Pattern and Texture, Light, and Color in previous posts.
And we have explored the design principles—the strategies for carefully and effectively combining the elements—by utilizing Balance, Rhythm, Scale and Proportion, and Emphasis and Focal Points—more recently.
I have left the final design principle: UNITY for the final post in this series. Why? Because Unity is the overriding and cumulative way in which the contents of a room are woven together into a cohesive whole, transforming a collection of beautiful pieces into a singular, intentional experience. Without it, a room is merely a showroom of disparate items; with it, a space feels resolved, harmonious, and complete.UNITY DefinedIf an interior space is unified, that means that a congruity or agreement exists among the elements in the room; they look as though they belong with one another, as though some visual connection beyond mere chance has brought them together.
UNITY is synonymous with HARMONY. If various elements appear separate or unrelated, the composition falls apart and lacks both UNITY and Harmony.
Unity (or Harmony) in a composition is the agreement of the parts to each other and to the whole. Unity results in a composition in which all the pieces seem to belong together and work to reinforce the overall design theme.
How is Unity Achieved?There are many tactics to unify a space, several of which we will cover here. The key is that the selection and placement of items in a room be strategic and well considered, not haphazard.